Tampilkan postingan dengan label vegetables. Tampilkan semua postingan

Minggu, 21 Juni 2020

Roasted Sweet Potato Salad with Lime & Honey


You are going to love the recipe I am sharing with you today.  Roasted Sweet Potato Salad with Lime & Honey.  Do you love sweet potatoes as much as I love sweet potatoes?  If so, then this recipe is sure to become one you will turn to frequently in the summer months!


Sweet Potatoes are a wonderful vegetable.  Members of the Morning Glory family, they are an underground tuber and are filled with plenty of nutrients.  Rich in beta carotine, and high in fibre, these delicious tubers can be enjoyed boiled, baked, roasted, steamed or fried. 


They range in colours from white to orange and everything in between.  I have not actually seen the pink, yellow, purple or white ones, but I am quite familiar with the red/orange ones both dark in colour and lighter.  The ones you need to be using for this recipe today should have a dark red skin.  They have the orangest flesh and look the nicest.


They have been called a super-food and are not at all the same as regular potatoes which come from the night shade family.   Until today I had always thought they were better for me than regular potatoes, but I have learned today that they are not really that good for Type 2 Diabetics, so I am really disappointed to read that.  *sniff *sniff*


I don't know where I got the idea that they were low GI, because they definitely are not. Oh well, you learn something new every day!


As I said, you will want to use sweet potatoes with the darker orange coloured flesh for this recipe. They will be the most attractive.


Relatively few ingredients are needed, just the sweet potatoes, some olive oil, salt, a lime, honey and some chopped coriander to garnish.


Peeled sweet potatoes are cut into 1 inch chunks and tossed together with some olive oil and salt before roasting in a very hot oven until they are fork tender and just beginning to caramelise.


They are dressed with a simple dressing of honey, fresh lime juice and lime zest.  The flavours of this are amazing.


Very simple and yet delivering the perfect balance of sweet and tart . . .  I do so love lime, don't you?


The roasted sweet potatoes are tossed lightly in this dressing and then garnished with some chopped fresh coriander leaf (cilantro). You can leave that out if you are not a fan.  Just garnish it with some chopped parsley.


Alogether this is mighty delicious.  So simple.  Quick and easy as well.


It went down a real treat with some grilled chicken and an Avocado and Tomato Salad.


Roasted Sweet Potato Salad with Lime & Honey

Print
Roasted Sweet Potato Salad with Lime & Honey
Yield: 6
Author:
Cubes of roasted sweet potatoes are dressed in a tangy sweet and beautifully balanced dressing of lime and honey

Ingredients:

  • 3 pounds of red skinned sweet potatoes (these have the orangest flesh)
  • 60ml olive oil (1/4 cup)
  • fine sea salt to taste
  • 2 TBS lime juice, plus more if need be
  • 2 tsp finely grated lime zest
  • 2 TBS honey
  • 2 TBS chopped fresh coriander leaf to garnish (cilantro)

Instructions:

  1. Preheat the oven to 230*C/450*F/ gas mark 7. Line one or two large baking trays with aluminium foil. Spray the foil lightly with nonstick cooking spray.
  2. Peel the sweet potatoes and cut into one inch cubes. Toss them together in a bowl with the olive oil. Spread them out onto  the baking tray(s).  Sprinkle 2 tsp of salt over top.
  3. Roast the sweet potatoes in the preheated oven, stirring them every 10 minutes for 20 to 25 minutes, until they are fork tender and lightly gilded.  Watch carefully so they don't burn.
  4. Allow to cool to room temperature.  Transfer to a serving bowl.
  5. Whisk together the lime juice, zest and honey. Pour over the sweet poatoes and gently fold together to mix.  Taste and season with more salt if required and up to 1 t 2 tsp of additional lime juice if you think it needs it.  Scatter the top with the coriander leaf and serve.
Did you make this recipe?
Tag @marierayner5530 on instagram and hashtag it #EnglishKitchen


I am so, so, so disappointed to learn that I shouldn't really be eating sweet potatoes.  Here, all along, I was thinking that they were really good for me.  I guess I shall have to treat them as a rare treat as well.  Getting older is not for sissies, that's for sure! 

Follow my blog with Bloglovin
Read more

Minggu, 17 Mei 2020

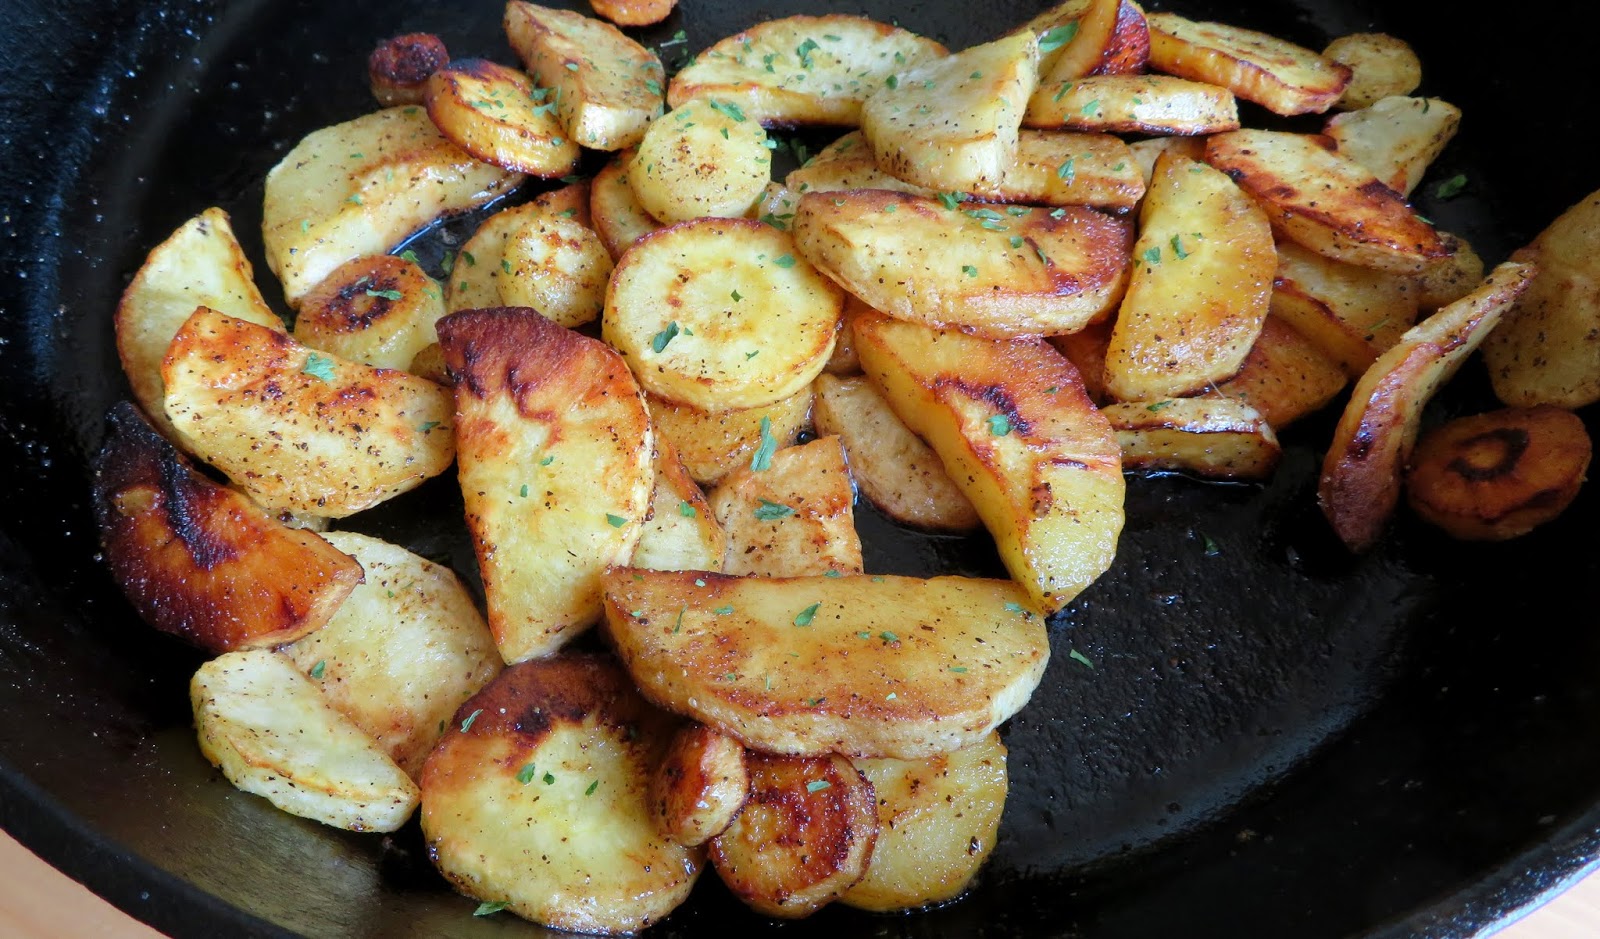
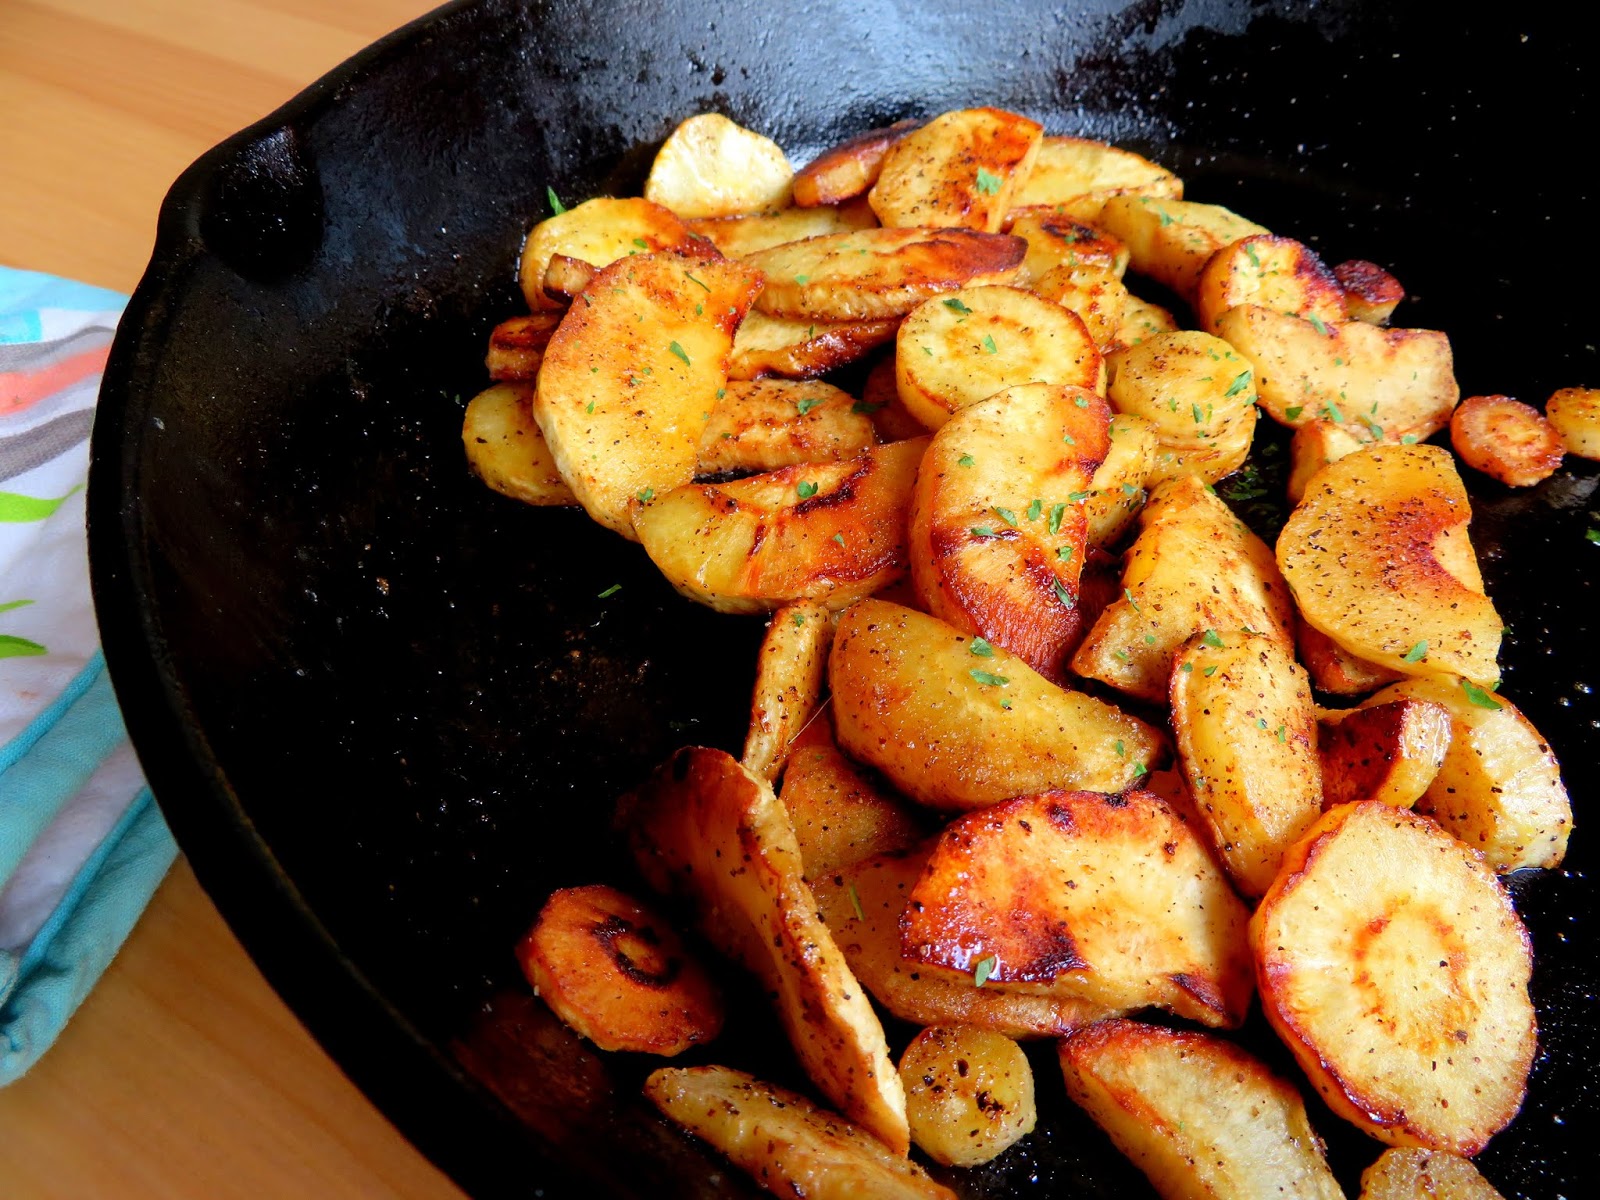
Butter Fried Parsnips


My mother always hated parsnips.  She used to tell a story about how, when she was a small child and during a family meal, she had refused to eat or touch the parsnips on her plate.  She simply did not like them. Her grandfather tried to tempt her by putting a nickle on the table and telling her that she could have it if she would only eat one piece of parsnip.


As you can imagine, during the Great Depression (in the early 1930's) five cents, or a nickle would have been quite a sum of money. You probably could have purchased a cup of coffee for five cents or two newspapers and a penny stamp. Eight cents would buy you a pound of beef, so five cents was quite a bit for a little girl to have.   

End result, she hated parsnips so much that you could not even tempt her with five cents to eat even a tiny bite of them. 


They were not something that we ever had to eat.  I can remember once when I was a teenager mom buying some and frying them (as her mother had cooked them) so as to see if her tastes had changed in the intervening years.  They had not. She still hated them, but I took one taste of them and fell in love with them and have been eating them ever since.


Parsnips are a root vegetable which somewhat resemble very pale carrots.  They are commonly grown in cold climate regions, as they need a longer growing period to develop their sweet flavour and in fact I have been told that they are at their best after the first frost.  Interesting to note that at one time this rather anoemic looking vegetable was more popular in Europe than either carrots or potatoes, and considered to be a good meat subsitute during Lent!


They are a good source of folate, potassium and vitamin C. They also contain fiber, which is beneficial for digestion.


Putting that all aside, they are a vegetable I love and one which I use frequently in soups and stews, and of course roasted along side roast dinners. A MUST for our holiday meals!


I had not tasted butter fried parsnips since my teen years however, and that one time my mother had made them.  Yesterday I was longing for them.


I couldn't remember exactly how my mother had cooked them  . . .  if she had parboiled them first or what  . . .  so I decided to wing it.


Pan frying them in butter was how my great grandmother and grandmother had cooked them, and I like to think that all three of them  . . .  my mother, nan and great nan were standing next to me while I was cooking these yesterday.


I did nothing special to them  . . .  I simply peeled them and cut the larger ones into half moons and the smaller ones into rounds.  I then sliced them about 1/4 inch thick.


They can act a bit like a sponge, absorbing any liquid or fat around them.  So make sure your butter is foaming before you add them to the skillet, and also leave some butter to stir into them at the end.


These were seasoned simply with some fine sea salt and black pepper . . .


Try not to rush them.  Cook them slowly in the hot butter, and at a low temperature so that the butter doesn't burn . . .


Flip them over when they are golden on the underside and lightly season them again  . . . . continue to cook them slowly until they are soft, and lightly caramelised  . . .  and that is when you add a final taste touch to them . . .


One final knob of butter and a soupçon of mild flavoured honey. Perfection  . . .

Butter Fried Parsnips

Butter Fried Parsnips

Yield: 4
Author:
Pan fried in butter, lightly caramelised and sweeted with just a touch of honey.  Something so simple and yet so very delicious.

Ingredients:

  • 2 large or 4 small to medium sized parsnips
  • fine sea salt and coarsely ground black pepper to taste
  • 3 TBS butter, divided
  • 1 TBS of honey

Instructions:

  1. Peel your parsnips and then slice into rounds. If they are very large, take the largest part and cut in half down the centre and then into half moons.  (About 1/4 inch thickness.)  Cut the smaller parts simply into rounds.
  2. Melt 2 TBS of the butter in a heavy bottomed skillet over medium low heat.  Once it begins to foam add the parsnip slices in a single layer. (You may need to add them in batches, moving cooked ones to the side as you go.)
  3. Season lightly all over to taste with salt and pepper.  Cook until beginning to turn golden brown on the underside and then flip them over, seasoning the other side lightly.  Cook until fork tender and golden brown. 
  4. Add the remaining TBS of butter and the honey, stirring to coat them all.
  5. Remove from the  heat and serve immediately. Delicious!
Did you make this recipe?
Tag @marierayner5530 on instagram and hashtag it #EnglishKitchen
Created using The Recipes Generator


I really love recipes where I can feel the tug of my ancestors leading me on, inspiring me to cook well and to feed my family as they had always done, don't you?  We are the sum of our roots and those who came before us. Family is everything. Its a pity not everyone "gets" that. For me, it is enough that "I" do.

Follow my blog with Bloglovin
Read more

Senin, 24 Februari 2020

Broccoli & Cauliflower Mac & Cheese for two


I don't know about you, but I consider Macaroni and Cheese to be the ultimate in comfort foods. Todd would disagree, as he is not overly fond of pasta of any kind, but the carb lover in me just needs to have some pasta every now and then, and of all the pastas on the earth Macaroni and Cheese is my favourite indulgence.


Interestingly enough, it wasn't something that I really remember my mother making when I was growing up. Occasionally we might have Kraft Dinner Mac & Cheese, but that was considered a treat.  If mom cooked pasta at all it was spaghetti, which my father love, LOVED and still does.


She would brown a pound of ground beef in a skillet and add a can of Catelli spaghetti sauce and call it Italian Spaghetti.  Served with the plastic green can of  grated cheese that was about as foreign as my family got when it came to dinner cuisine!


My children always loved it when I made them Macaroni and Cheese.  Its a pretty economical way to feed a large family, depending on the cheese you use for it.  When I first moved over here to Chester, there was a cheese monger at the Indoor Market in town who sold bags of cheese crumbs for 50p.  I used to buy two or three each time I went in, specifically for use in cooking.


You were never quite sure what kind they were, but they always went great in a cheese sauce!    I will be honest and up front here . . .  I never stint on the amount of cheese I put in a cheese sauce.  I think you should be able to full on taste it . . .  not just hint at it.  That's me . . . full on everything.


I also love cauliflower cheese and broccoli cheese. Yes I confess when my children were growing up, I was one of those moms who spooned heated Cheese Whiz over their broccoli to get them to eat it. Nobody complained.  It was simple and it was easy.


Adding broccoli and caulifower to macaroni and cheese is a great way to cut back on the carbs and to increase your intake of your five a day, and its incredibly delicious to boot!


It doesn't really involve any extra work, or more work than making ordinary mac and cheese and its a bit healthier.  At least I think it is.


I just throw the vegetable in with the macaroni during the last few minutes of its cook time. I cut them into rather smallish florets, about 1 inch in size, and they don't need much more than a few minutes to become crispy tender.


They add lots of interest to the dish, plenty of flavour and additional colour and texture.


Actually there are quite a few vegetables that go well in macaroni and cheese.  Leeks (I sautee them for a few minutes first), cooked peas and carrots, shredded cabbage or brussels sprouts (again lightly sauteed or blanched),  Kale (once again, blanche first), Swiss chard, spinach, tomatoes, etc. 


All are very tasty and I can honestly say I have never had anyone turn their nose up at any of them.


I like to use a strong cheddar for flavour and of course some mustard also adds a bit of a punch to the sauce.  You could use hot sauce in its place if you wanted to.  I am particularly fond of the Green Tabasco sauce.  I could eat that up with a spoon.


And of course I always top with some bread crumbs, crushed crackers, crushed cereal or stale chips and cheese.  Casseroles with crunchy toppings are one of my favourite things!! You don't need much on the side with this. I like to serve it with pickled beetroot and some buttered brown bread. Yummy!

Yield: 2
Author:

Broccoli & Cauliflower Mac & Cheese

Broccoli & Cauliflower Mac & Cheese

Rich and delicious, filled with several of your five a day and perfectly sized for two. I like to serve this with pickled beets and some buttered fresh brown bread.

ingredients:

For the cheese sauce:
  • 250g whole milk (1 generous cup)
  • 1 whole dried clove
  • 1 dried bay leaf, broken in two
  • 1 1/2 TBS butter
  • 1 1/2 TBS flour
  • salt and white pepper to taste
  • 1 TBS Dijon mustard
  • 60ml double cream (1/4 cup)
  • 75g grated strong cheddar cheese (2/3 cup)
  • 2 TBS grated Parmesan cheese
You will also need:
  • 115g dry macaroni (1 cup or 4 ounces)
  • 325g cauliflower florets (1 cup)
  • 325g broccoli florets (1 cup)
  • 60g grated strong cheddar cheese (1/2 cup)
  • a couple TBS of either cracker crumbs or potato chip crumbs

instructions:

How to cook Broccoli & Cauliflower Mac & Cheese

  1. First make the sauce. Add the clove and bayleaf to the milk. Bring just to the boil, then set aside to infuse for about 15 minutes. Remove the clove and bay leaf and discard.
  2. Melt the butter in a saucepan until it begins to foam. Whisk in the flour and allow it to cook for a vew minutes until it starts to smell a bit nutty. Pour in the milk slowly, whisking continuously until the mixure has thickened nicely. Whisk in the cheese and allow it to melt. Whisk in the cream and Dijon mustard. Season to taste with salt and white pepper. Set aside. 
  3. Preheat the oven to 200*C/400*F/ gas mark 6.  Butter a shallow casserole dish about 7 by 11 inches in size.
  4. Cook the dry macaroni in a pot of lightly salted water according to the package directions, adding the broccoli and cauliflower florets for the last 2 to 3 minutes of cook time.  Drain everything well, then stir into the cheese sauce.  Pour the whole lot into the prepared casserole dish. 
  5. Mix together the cheeses and crumbs/chips for the topping and sprinkle evenly over top of the macaroni and cheese.
  6. Bake in the preheated oven for 20 to 25 minutes, until bubbling and golden brown.  Let stand about 10 minutes before serving.

Did you make this recipe?
Tag @marierayner5530 on instagram and hashtag it #EnglishKitchen
Created using The Recipes Generator


I dare say I love this even more than regular mac and cheese.  Its fabulously delicious!  I have simple tastes . . .  A simple salad also goes very well on the side.

I am fed up to the eyeballs with rain.  Its that time of year!  Not really cold, except for the wind, but the rain . . .  its starting to get to me.


Read more