Tampilkan postingan dengan label simple side dishes. Tampilkan semua postingan

Minggu, 17 Mei 2020

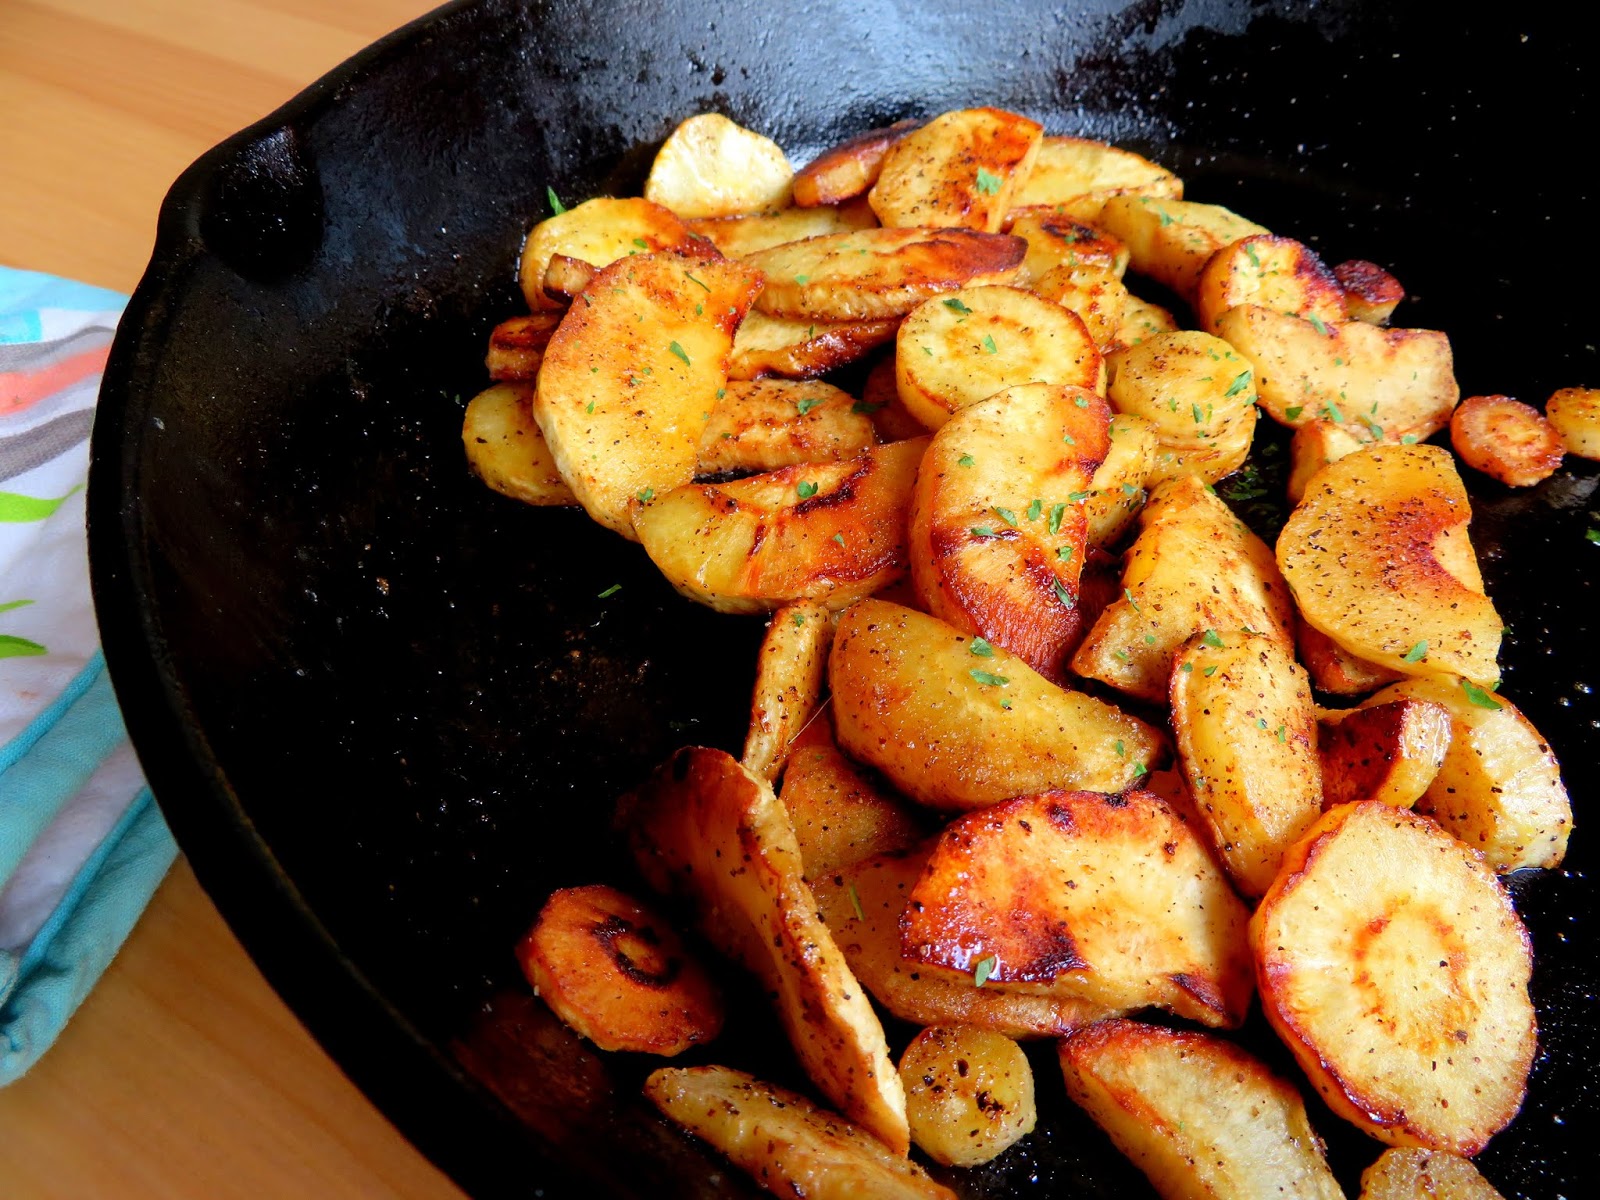
Butter Fried Parsnips


My mother always hated parsnips.  She used to tell a story about how, when she was a small child and during a family meal, she had refused to eat or touch the parsnips on her plate.  She simply did not like them. Her grandfather tried to tempt her by putting a nickle on the table and telling her that she could have it if she would only eat one piece of parsnip.


As you can imagine, during the Great Depression (in the early 1930's) five cents, or a nickle would have been quite a sum of money. You probably could have purchased a cup of coffee for five cents or two newspapers and a penny stamp. Eight cents would buy you a pound of beef, so five cents was quite a bit for a little girl to have.   

End result, she hated parsnips so much that you could not even tempt her with five cents to eat even a tiny bite of them. 

They were not something that we ever had to eat.  I can remember once when I was a teenager mom buying some and frying them (as her mother had cooked them) so as to see if her tastes had changed in the intervening years.  They had not. She still hated them, but I took one taste of them and fell in love with them and have been eating them ever since.


Parsnips are a root vegetable which somewhat resemble very pale carrots.  They are commonly grown in cold climate regions, as they need a longer growing period to develop their sweet flavour and in fact I have been told that they are at their best after the first frost.  Interesting to note that at one time this rather anoemic looking vegetable was more popular in Europe than either carrots or potatoes, and considered to be a good meat subsitute during Lent!


They are a good source of folate, potassium and vitamin C. They also contain fiber, which is beneficial for digestion.


Putting that all aside, they are a vegetable I love and one which I use frequently in soups and stews, and of course roasted along side roast dinners. A MUST for our holiday meals!


I had not tasted butter fried parsnips since my teen years however, and that one time my mother had made them.  Yesterday I was longing for them.


I couldn't remember exactly how my mother had cooked them  . . .  if she had parboiled them first or what  . . .  so I decided to wing it.


Pan frying them in butter was how my great grandmother and grandmother had cooked them, and I like to think that all three of them  . . .  my mother, nan and great nan were standing next to me while I was cooking these yesterday.


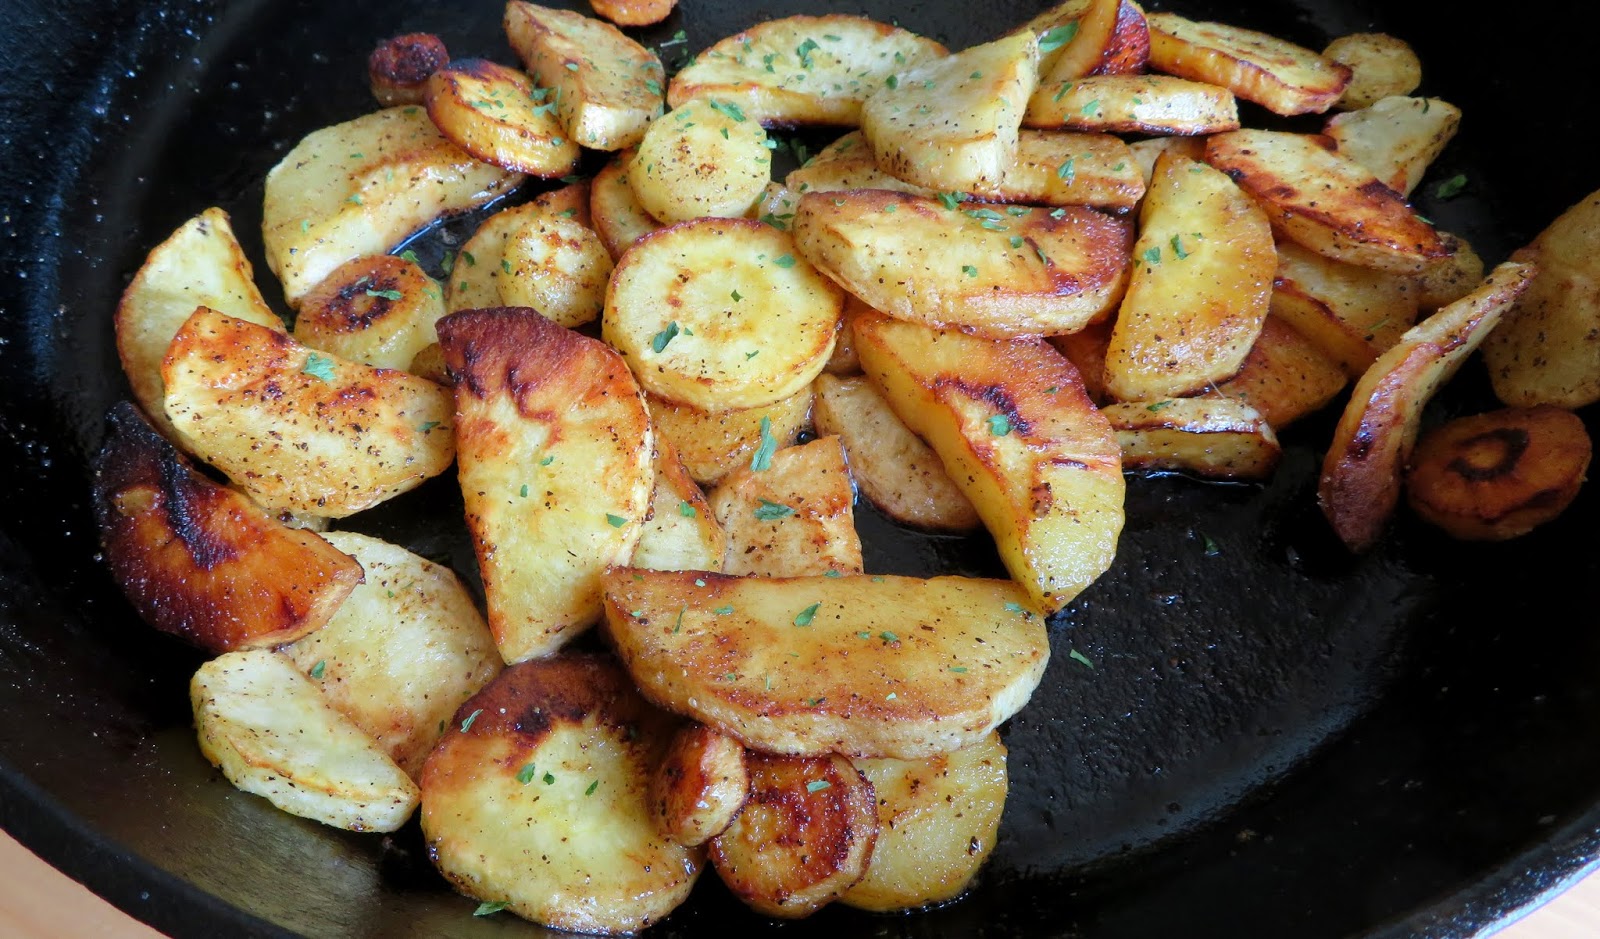
I did nothing special to them  . . .  I simply peeled them and cut the larger ones into half moons and the smaller ones into rounds.  I then sliced them about 1/4 inch thick.


They can act a bit like a sponge, absorbing any liquid or fat around them.  So make sure your butter is foaming before you add them to the skillet, and also leave some butter to stir into them at the end.


These were seasoned simply with some fine sea salt and black pepper . . .


Try not to rush them.  Cook them slowly in the hot butter, and at a low temperature so that the butter doesn't burn . . .


Flip them over when they are golden on the underside and lightly season them again  . . . . continue to cook them slowly until they are soft, and lightly caramelised  . . .  and that is when you add a final taste touch to them . . .


One final knob of butter and a soupçon of mild flavoured honey. Perfection  . . .

Butter Fried Parsnips

Butter Fried Parsnips

Yield: 4
Author:
Pan fried in butter, lightly caramelised and sweeted with just a touch of honey.  Something so simple and yet so very delicious.

Ingredients:

  • 2 large or 4 small to medium sized parsnips
  • fine sea salt and coarsely ground black pepper to taste
  • 3 TBS butter, divided
  • 1 TBS of honey

Instructions:

  1. Peel your parsnips and then slice into rounds. If they are very large, take the largest part and cut in half down the centre and then into half moons.  (About 1/4 inch thickness.)  Cut the smaller parts simply into rounds.
  2. Melt 2 TBS of the butter in a heavy bottomed skillet over medium low heat.  Once it begins to foam add the parsnip slices in a single layer. (You may need to add them in batches, moving cooked ones to the side as you go.)
  3. Season lightly all over to taste with salt and pepper.  Cook until beginning to turn golden brown on the underside and then flip them over, seasoning the other side lightly.  Cook until fork tender and golden brown. 
  4. Add the remaining TBS of butter and the honey, stirring to coat them all.
  5. Remove from the  heat and serve immediately. Delicious!
Did you make this recipe?
Tag @marierayner5530 on instagram and hashtag it #EnglishKitchen
Created using The Recipes Generator


I really love recipes where I can feel the tug of my ancestors leading me on, inspiring me to cook well and to feed my family as they had always done, don't you?  We are the sum of our roots and those who came before us. Family is everything. Its a pity not everyone "gets" that. For me, it is enough that "I" do.

Follow my blog with Bloglovin
Read more

Minggu, 15 September 2019

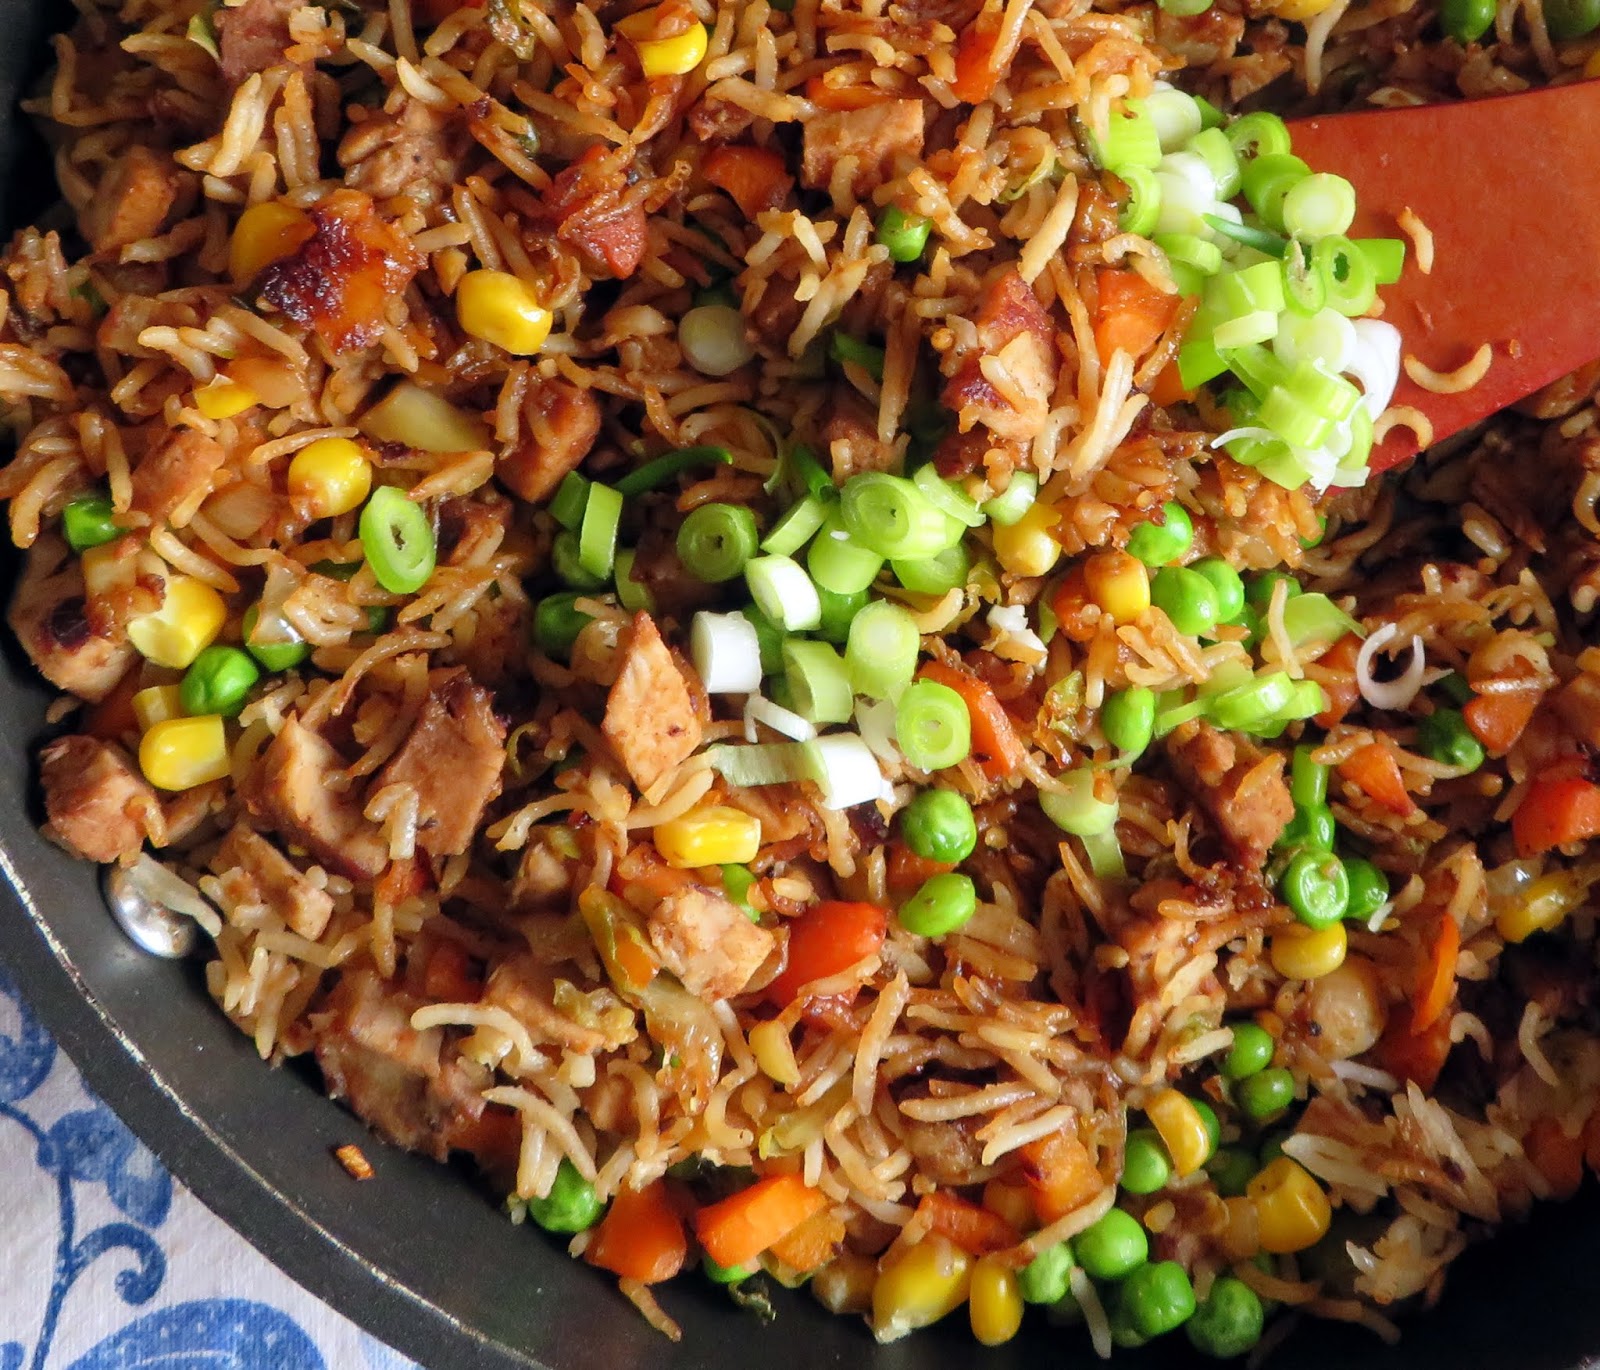
Pork Fried Rice


I had a huge piece of leftover roast pork loin after Todd's Birthday lunch with friends the other day and I wasn't sure what to do with it.  You know the whole time I grew up we never had hot roast pork.  My father didn't like hot roast pork, so my mother always cooked it the day before we had it for dinner and then we would have it sliced in thin slices with mustard for our supper.


This might sound awful, but I quite liked the texture and taste of the cold white fat on it . . .  ever the glutton.  I do have to admit however as an adult I prefer my roast pork hot, and I don't eat the fat.


I could have made a casserole with it, but I also had a quantity of leftover cooked vegetables as well. Carrots, swede, Brussels sprouts.  I used them in this recipe, along with a chopped onion and some frozen veg.


Normally I would use chopped raw vegetables, but where I had these and they needed using I just used them. I did chop up the carrots and Knive-shred the sprouts.  The swede (rutabaga) was mashed but coarsely, so a handful of that worked well also.


Fried rice is a very forgiving dish to make. It will work with just about whatever you have to throw into the pan.  Pork, chicken, beef, ham . . .  shrimps  . . .  I have even made it with Spam and it was really good, let me tell you!


I save the frozen vegetables and add them at the end.  Today I used peas and corn, but most times I only use peas.


Its flavoured with garlic, ginger, five spice powder and dark soy sauce . . .


I also like to use some of my homemade Ketjap Manis and Hoisin Sauce.  I like the salty sweetness of the Ketjap Manis and the spiciness of the Hoisin sauce.


Ketjap Manis is an Indonesian thick and sweet soy sauce. If you have never tried it or made your own, you really should do. Its very easy to make and so delicious. You can find my recipe for it here.  I would not be without it.


A bit of toasted sesame oil also adds an authentic flavour which we love . . . along with garlic of course.


We enjoyed it along with some oven baked chicken tenders.  Crisp and delicious.  I created a simple Oriental flavoured BBQ sauce to dip them in.


This sauce is as easy as whisking a few tasty ingredients together and is really yummy!


Yield: 4
Author:

Chinese BBQ Sauce for Dipping

This is great for dipping  chicken nuggets and tenders into. Delicious!

ingredients:

  • 4 TBS Peach, Plum or Apricot jam (I like Bonne Maman)
  • 4 TBS tomato ketchup
  • 4 TBS BBQ sauce (use your favourite kind)
  • 1/2 tsp Chinese five spice powder
  • 1/4 tsp ground ginger
  • 2 TBS Rice wine vinegar

instructions:

How to cook Chinese BBQ Sauce for Dipping

  1. Measure the jam into a microwave proof bowl.  Put into the microwave and cook on high for about 60 seconds. Whisk  in all of the remaining ingredients until smooth and let sit about half an hour prior to using.
Created using The Recipes Generator


The rice along with the chicken tenders and sauce made for a very delicious supper indeed!

Yield: 4
Author:

Pork Fried Rice

This is one of those meals that uses up whatever vegetables and meat you have in the fridge that need using up, and tastes great!  I love little bit of this and little bit of that meals!

ingredients:

  • a bit of oil
  • 2 cups of chopped cooked roast pork
  • 4 cups of chopped raw vegetables (cabbage, carrots, swede, peppers, onions, cauliflower,
  • broccoli, courgettes, bean sprouts, beans . . . in other words just about any vegetable you have to hand)
  • 1 family pack of cooked rice (one that gives 4 servings)
  • a large handful of frozen peas, or frozen peas and corn
  • 1 TBS dark soy sauce
  • 1 TBS Ketjap Manis (Indonesian Soy sauce)
  • 1 fat clove of garlic, peeled and minced
  • 1/2 tsp ground ginger
  • 1 tsp Chinese five spice
  • 1 tsp toasted sesame oil
  • a good dollop of hoisin sauce (according to your taste)
  • salt and freshly ground black pepper to taste

instructions:

How to cook Pork Fried Rice

  1. Heat a large skillet with a lid over medium high heat. Add a splash of oil and once it heats up toss in the meat and the garlic. Cook and stir until heated through. Add the chopped raw vegetables. I chop the ones that take longer to cook smaller and leave the ones which cook fairly quickly in larger chunks. Sprinkle with the  1 TBS of the soy sauce, the garlic,   the ground ginger, and the Chinese five spice, stirring it all through. Cover with the lid and cook over medium low heat, until the vegetables are crispy tender. Remove the lid and add the rice from the package, crumbing it in and stirring it all together. Add the peas, the ketjap manis, hoisin sauce and sesame oil. Cover and heat through. Taste and adjust seasoning with salt and pepper to taste. Serve immediately.
Created using The Recipes Generator


It always makes me really happy when I can use up my leftovers in a tasty and unique way.  Nothing boring here.  I've never had any complaints anyways! 

Up Tomorrow: Roussillon Baked Potatoes


Read more

Rabu, 17 April 2019

Baked Mushroom Rice


This recipe I am sharing today is one which I discovered on Pinterest, attributed to the blog Recipe Tin Eats.  I have had it bookmarked for a long time now.  I thought it was time I finally got around to making it.


Simple ingredients, put together simply, quick and easy, and oh so tasty.  I am so glad that I finally made this because it spelled WINNER!


A mix of rice, stock, thyme and garlic powder is put into the bottom of a casserole dish and covered with a thick layer of garlic mushrooms . . .


No need to cover as the layer of mushrooms serves as a sort of a jacket for the rice, covering it . . .  the juices running down and mingling with the stock and rice beneath it as it cooks . . .


The mushrooms are wonderfully flavoured, all garlicky and almost meaty in flavour.  I used a mix of brown chestnut mushrooms and button mushrooms.  It may look like a lot of mushrooms to begin with, but they shrink (as mushrooms do) as they cook, and you get little bits of the rice somewhat exposed and little crispy bits . . .


When it comes out of the oven you scatter on some thinly sliced spring onions, and fork them through with the cooked mushrooms . . .


Fluffing up that rice and mingling the flavours and textures of everything just nicely  . . . 


This would be perfect served with just about anything . . .  poultry, pork, beef, fish  . . .  all would go well . . .


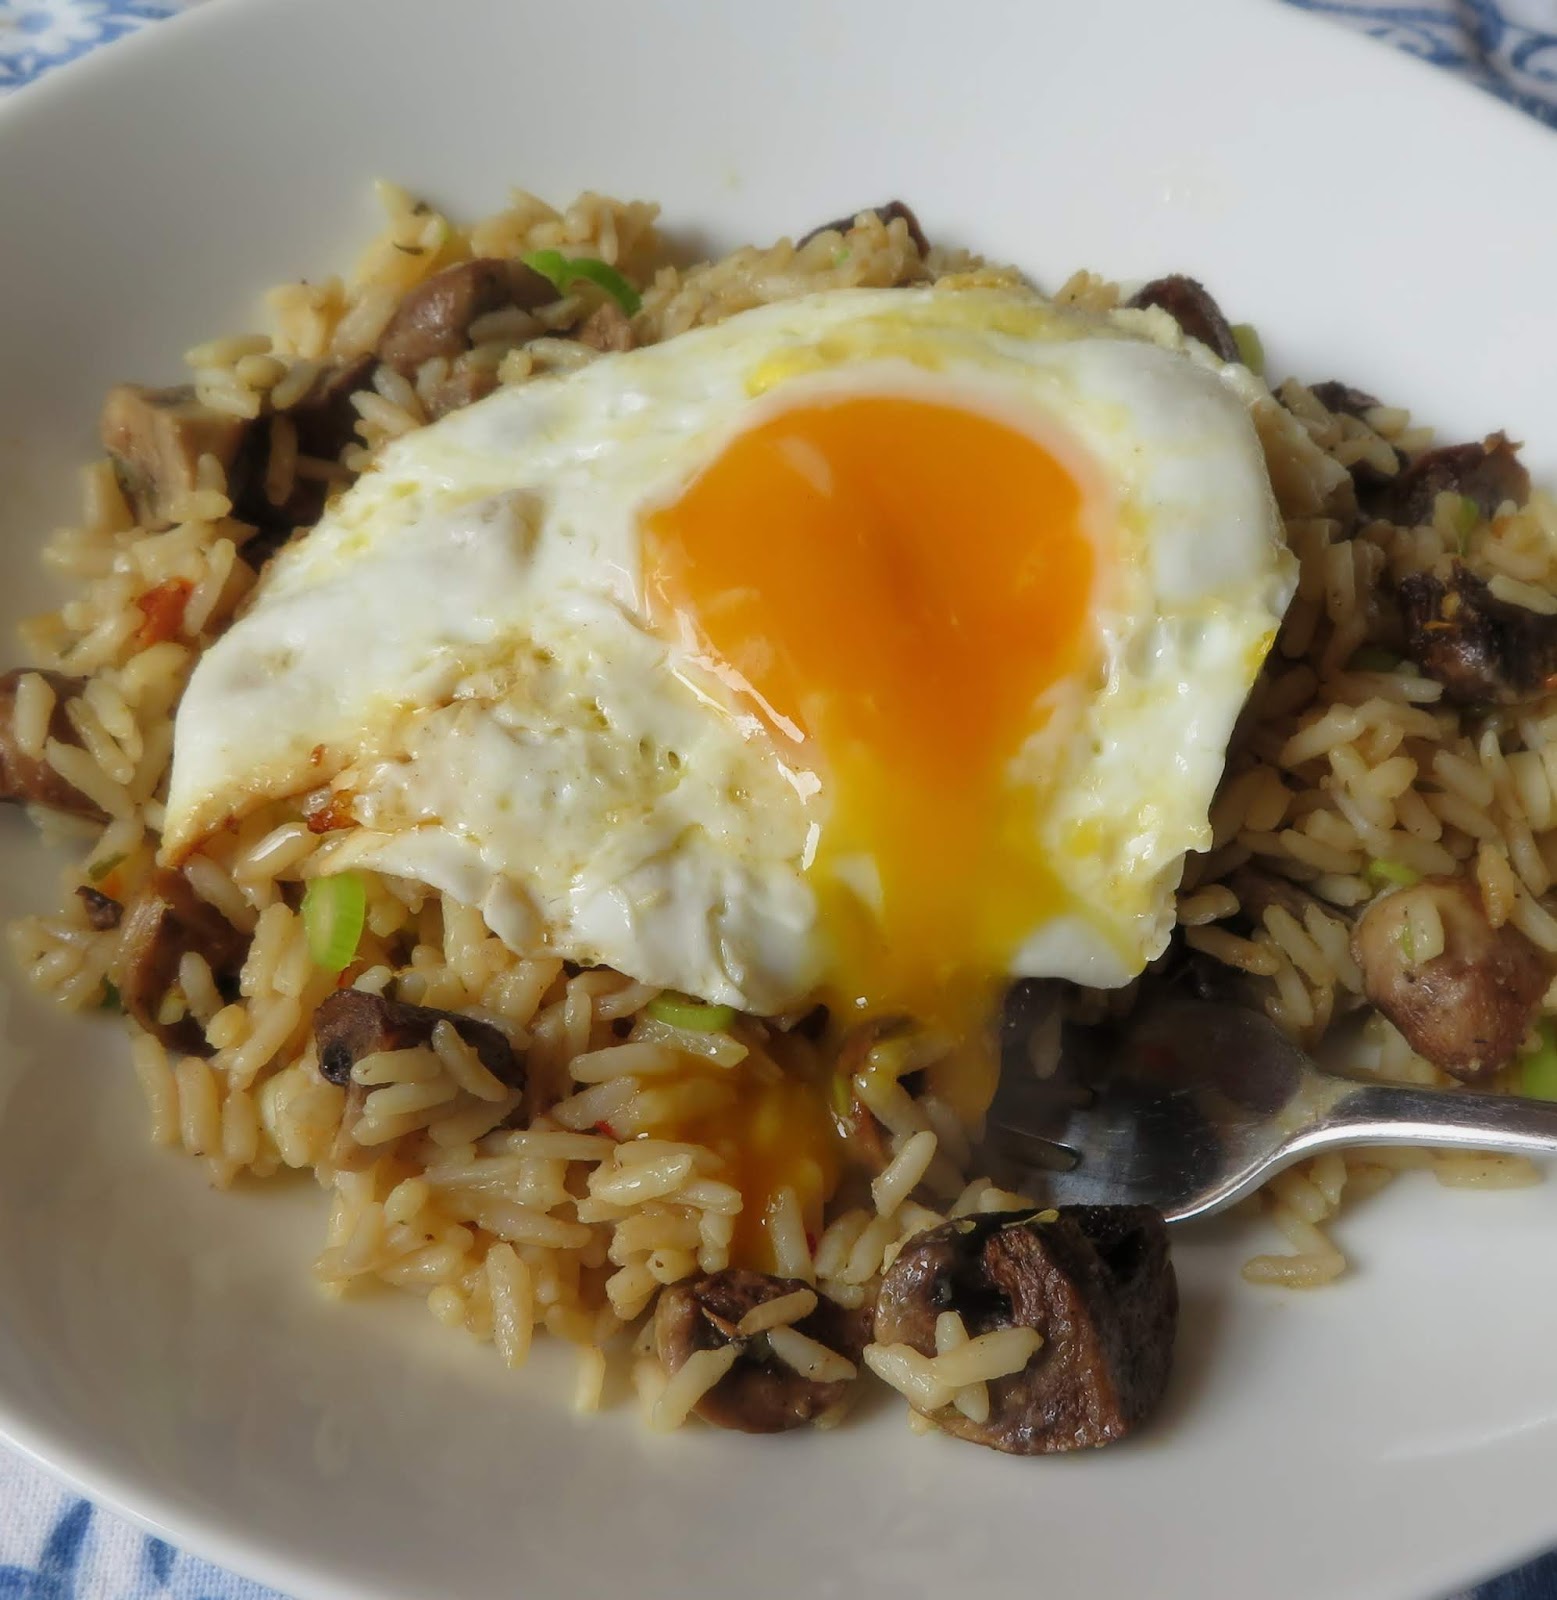
I served it simply with a fried egg on top, for a Vegetarian feast for all the senses  . . . 


Simply perfect with that golden yolk torn open so that it drizzled all rich and delicious into the rice  . . .  mingling with all those lovely flavours and textures  . . .


This made the perfect supper for the two of us  . . . with plenty of leftovers that I can fry up tomorrow as a fried rice, perhaps adding a bit of chicken, if I have any . . .


This was really quite satisfying.  In truth I would have been happy with just the rice, but men do like their protein and so I fried the eggs for Todd.


This is a dish I would make again.  It was easy and quite delicious.  I highly recommend!

Baked Mushroom Rice


Yield: 6
Author:
A fabulously tasty oven baked rice dish that is chock full of lovely flavours.  I served it with some fried eggs, but this tasty rice would go with anything, and is fabulous even on it's own.

ingredients:

For the mushrooms:
  • 650g mushrooms, cleaned and quartered (1.3 pounds) I used a mix of chestnut and button mushrooms
  • 50g butter, melted (3 1/2 TBS)
  • 2 fat cloves of garlic, peeled and minced
  • salt and black pepper to taste
For the Rice:
  • 315g raw long grain rice (1 1/2 cups)
  • 355 ml hot vegetable stock (1 1/2 cups)
  • 300ml hot water (1 1/4 cups)
  • 1 tsp dried thyme
  • 1 tsp garlic powder
  • 1 1/2 TBS olive oil, to drizzle
  • 3 spring onions, trimmed and thinly sliced

instructions:

  1. Preheat the oven to 180*C/350*F/gas mark 4.  Have ready a 9 by 13 inch baking dish.
  2. Place the mushrooms into a bowl. Pour the hot melted butter over top and toss together with the garlic and some salt and pepper to coat.  Set aside.
  3. Pour the rice into the baking dish.  Spread it out to cover the bottom of the dish. Combine the vegetable stock, water, thyme and garlic powder.  Pour evenly over top to cover. 
  4. Scatter the mushrooms over the rice and liquid  to coat it completely. This will act as a lid and any juices from the mushrooms will drip down into the rice to further flavour it.  Drizzle the olive oil over top of all.
  5. Bake in the preheated oven for 35 to 40 minutes, until the mushrooms are golden brown and the rice tender.  Scatter the spring onions over top and fork through.  Serve immediately.
Created using The Recipes Generator


Well, the Engineer came to look at my oven today and the prognosis is that one of the elements is gone, but he doesn't know which. (It used to be easy to tell which in the old days!)  In any case he has ordered both a top and a bottom element and someone will come and fit them on Tuesday, so I guess there is no roast dinner for us this Easter weekend!  And no cakes to share with you either.  *sniff *sniff  I did get this rice dish baked, but I had to bake it at a much higher temperature and I was really taking my chances that it would turn out.  Thank goodness it did.  I don't think I would hazard an expensive piece of meat  in it. My sister says why don't I use my Instant Pot/Pressure Cooker.  I just haven't been able to master that yet either, or at least to my satisfaction!  I think it will be a Rotisserie Chicken from Costco for us!  I don't really mind as I quite like them!


Read more