

I tried doing a pot roast in my Instant Pot/Electric Pressure Cooker at the weekend. It was okay, but I had to cook it twice as long as the recipe suggested. I think maybe it was because I used a rolled brisket. Perhaps I will try it again another time, but with a different cut of beef I might also cut it into smaller pieces instead of leaving it whole. It was tender but not as tender as I wanted it to be.
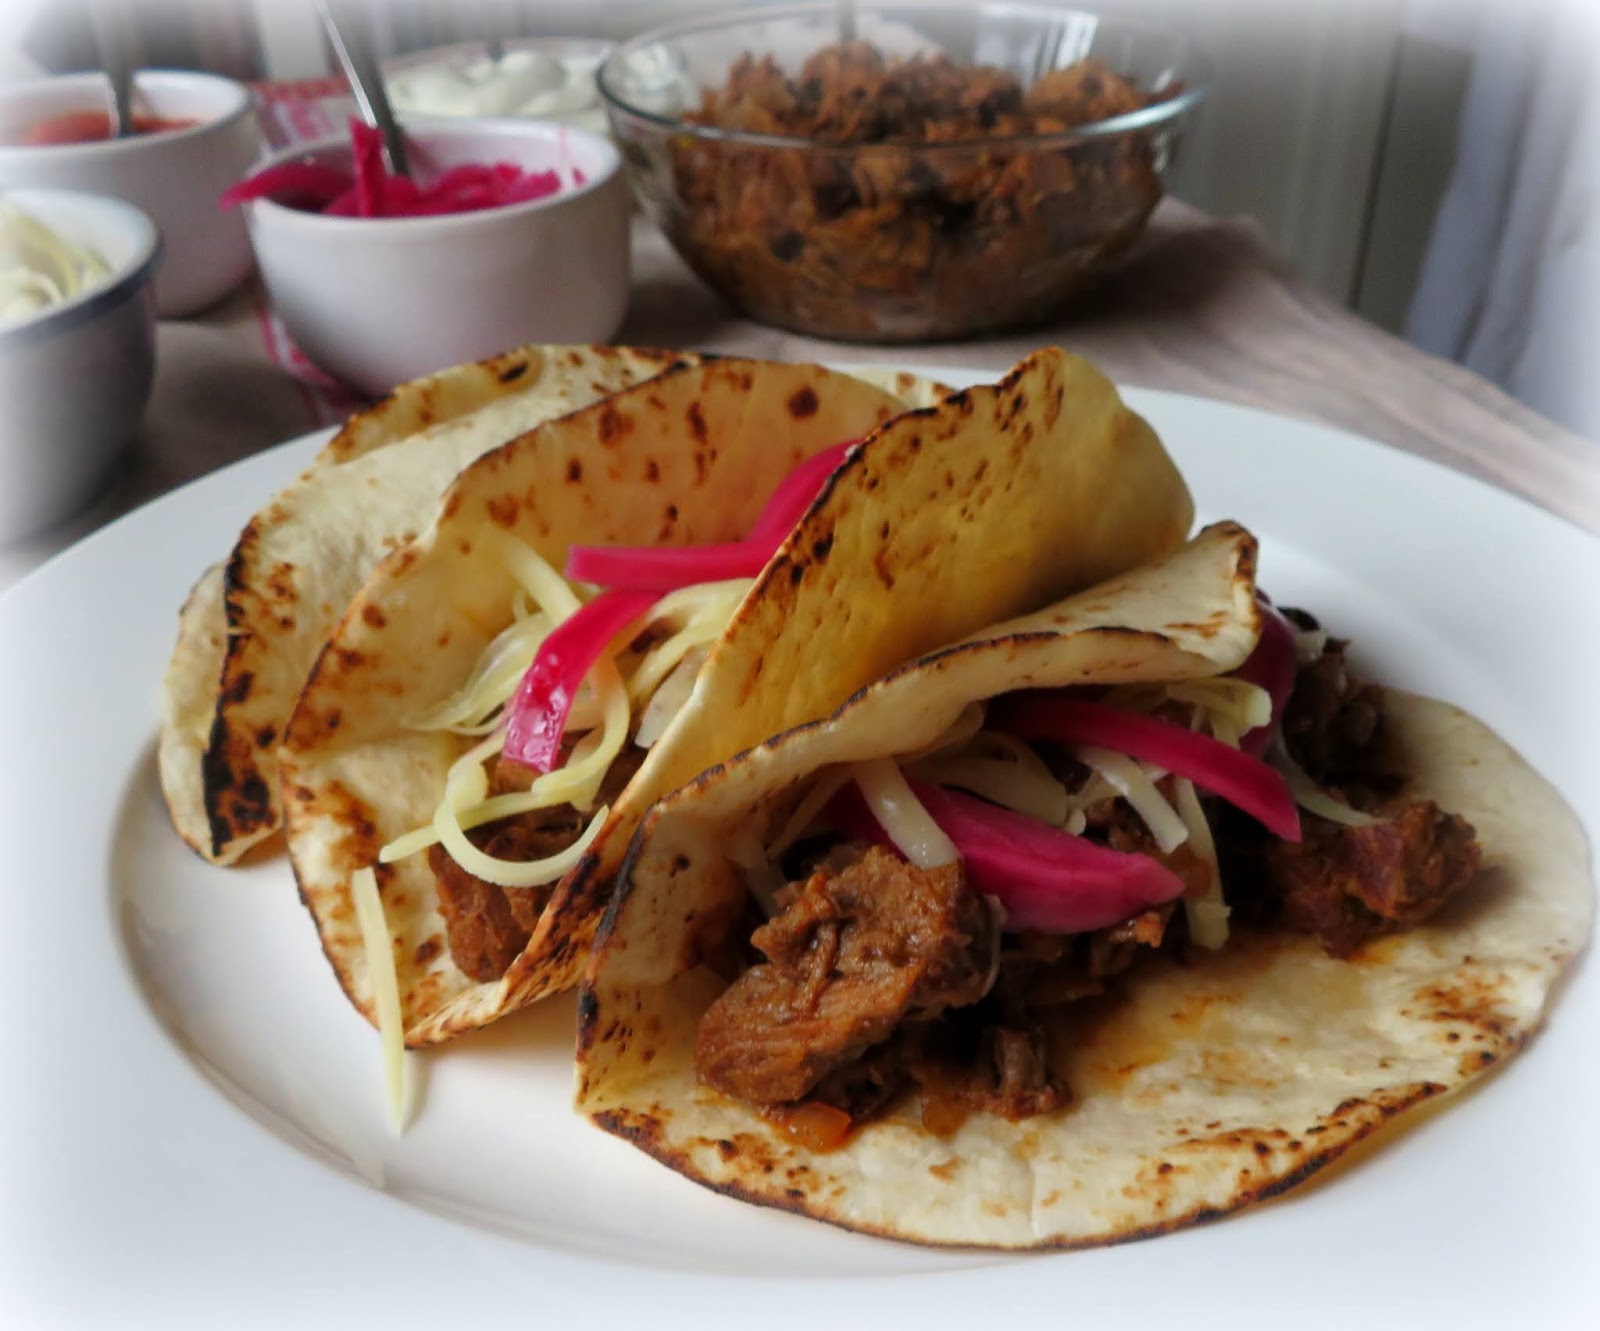
I found myself with a fair quantity of leftover cooked roast that I needed to use up and we didn't really feel like hash or a pie, etc. We I felt like making tacos! I adore Tex Mex food in every way shape or form.

This recipe is a combination of several recipes which I discovered online. The Beef filling is an adaptation of one I found on Betty Crocker.

It was for a beef taco filling created in an Instant Pot using stewing beef. I adapted it for cooking in a saucepan or large skillet. If you don't have leftover roast beef, you could also use ground beef in its place, browning it along with the onions.

The Pickled Onions are adapted from a recipe I found on David Lebovitz, which he adapted from Ms Glaze and Simply Recipes. This wealth of sharing is one thing I love about the online cooking community. We learn from and inspire each other. Its a beautiful thing.

He had served them with Carnitas. I thought they would go well with these tacos. I was right.

They are incredibly tasty with an eye-popping pink colour that is oh so, so, so pretty!

The filling is very tasty also. Not too spicy, just enough to wake up your tasty buds and say "¡Arriba, Arriba! ¡Ándale, Ándale!"

I like to heat my tortillas over the open flame of a gas burner. I read about doing that a year or so ago and it was a life-changer for me. I have never done them any other way since. They end up wow!

Lightly toasted, charred a bit, and beautifully soft for folding in something like tacos. Seriously if you have never done this before, you need to try it! Just take a pair of tongs and hold them over the open flame, first on one side and then the other. It only takes about 10 seconds per side.

Once you have done this, you will never want to enjoy them any other way. Trust me on this.

In addition to the filling, pickled onions and tortillas I served grated cheese, salsa and sour cream.

These were totally fabulous! We both ate three! I thought I would only eat two, but I just could not resist one more!
Yield: 4 - 6

Beef Barbacoa Tacos with Sweet Pickled Onions
Something I came up with to use up leftover cooked roast beef. These are delicious to say the least! You can make the onions up the day before if you wish. They will keep for quite a while. If you don't have any leftover roast beef, you can use ground beef and just cook as below.
ingredients:
- 1 TBS vegetable oil
- 1 pound leftover roast beef, cut into cubes
- 1 medium red onion, peeled and finely chopped
- 240ml beef stock (1 cup)
- 1 TBS minced Chipotle chiles in adobe sauce
- 2 small cloves garlic, peeled and minced
- 1/2 tsp ground cumin
- 1/2 tsp ground coriander
- 1/2 packet of taco seasoning mix
- pinch salt
For the pickled onions:
- 180ml white vinegar (3/4 cup)
- 3 TBS caster sugar
- pinch salt
- 1 bay leaf, broken in half
- 5 whole allspice berries, bruised
- 5 whole cloves, bruised
- a pinch of dried chili flakes
- 1 large red onion, peeled, cut in half
- and then into half moons
To serve:
- 6-inch plain tortillas
- Dairy sour cream
- grated cheese (cheddar or jack)
- tomato salsa or picante sauce
instructions:
- First make the pickled onions. Place the vinegar, salt, sugar, spices, bay leaf and chili into a saucepan. Bring to the boil. Add the onion slices. Stir to completely submerge. Remove from the heat and set aside. Allow to cool completely before transferring all to a jar and refrigerating until ready to use.
- To make the taco filling, heat the oil over medium heat. Add the chopped beef and onion. Cook and stir until the beef has begun to brown and the onions have softened without colouring. Add the remaining ingredients. Bring to the boil, then reduce to a low simmer and cook over low heat for about 15 minutes. Shred the meat with two forks.
- Heat the tortillas according to your favourite method. Serve immediately with the hot meat filling, pickled onions and any accompaniments you enjoy.
Created using The Recipes Generator

I really hope that you will give these a go the next time you have leftover roast beef that you are wanting to use up. If you are a fan of Tex Mex, you will quite simply adore these. I love using up leftovers in an interesting and delicious way. Its a good thing, not to coin a phrase from Martha or anything. Delicious, colourful and no waste here! Bon Appetit!


